Best Anki Clicker for Mac
Studying can be challenging, especially when you're trying to memorize a large amount of information. Anki, a popular flashcard app, is designed to make learning more effective and efficient.
However, using Anki on a computer can be cumbersome, which is why many students turn to Anki clickers.
In this article, we'll discuss the best Anki clicker for Mac and how it can improve your studying experience.
Table of Contents:
- Anki Overview
- Why do you need Anki Clicker
- The Best Anki Clicker
- Anki Clicker Set up for Mac
- How to Customize Your Anki Clicker for Mac
- Benefits of Anki Clicker
- Bottomline
Anki Overview
Anki is a powerful flashcard app that uses spaced repetition to help you memorize information more effectively. It's popular among students and professionals alike for its ability to help you retain information long-term. However, using Anki on a computer can be inconvenient, as you have to switch between the app and your keyboard or mouse.
Why Do You Need Anki Clicker?
Anki clickers are designed to make using Anki more convenient and efficient. They allow you to control the app without having to touch your computer, making it easier to focus on your studies. With an Anki clicker, you can quickly move through your flashcards, mark cards as easy or difficult, and even add new cards to your deck.
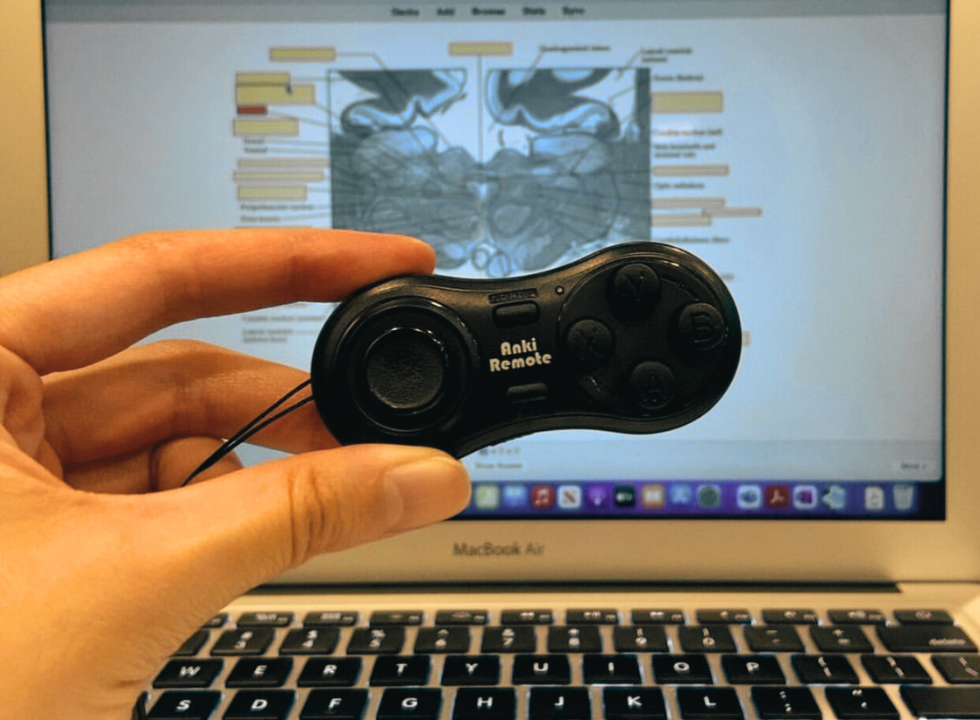
The Best Anki Clicker: Anki Remote
The Anki Remote is widely considered the best Anki clicker for Mac users. It's a one-handed remote that allows you to control Anki with ease. With the Anki Remote, you can navigate through your flashcards, answer questions, and review cards without ever having to touch your computer.
Anki Clicker Setup for Mac

Anki Remote set up with your Mac is easy.
Here's a step-by-step guide:
- Turn on your Anki Remote by pressing the power button.
- Open the Bluetooth settings on your Mac.
- Press and hold the Bluetooth button on your Anki Remote until it enters pairing mode.
- Select your Anki Remote from the list of available devices on your Mac.
- Follow the on-screen instructions to complete the pairing process.
- Lastly, we have created a quick guide to learn how to quickly navigate your remote.
How to Customize your Anki Clicker for Mac
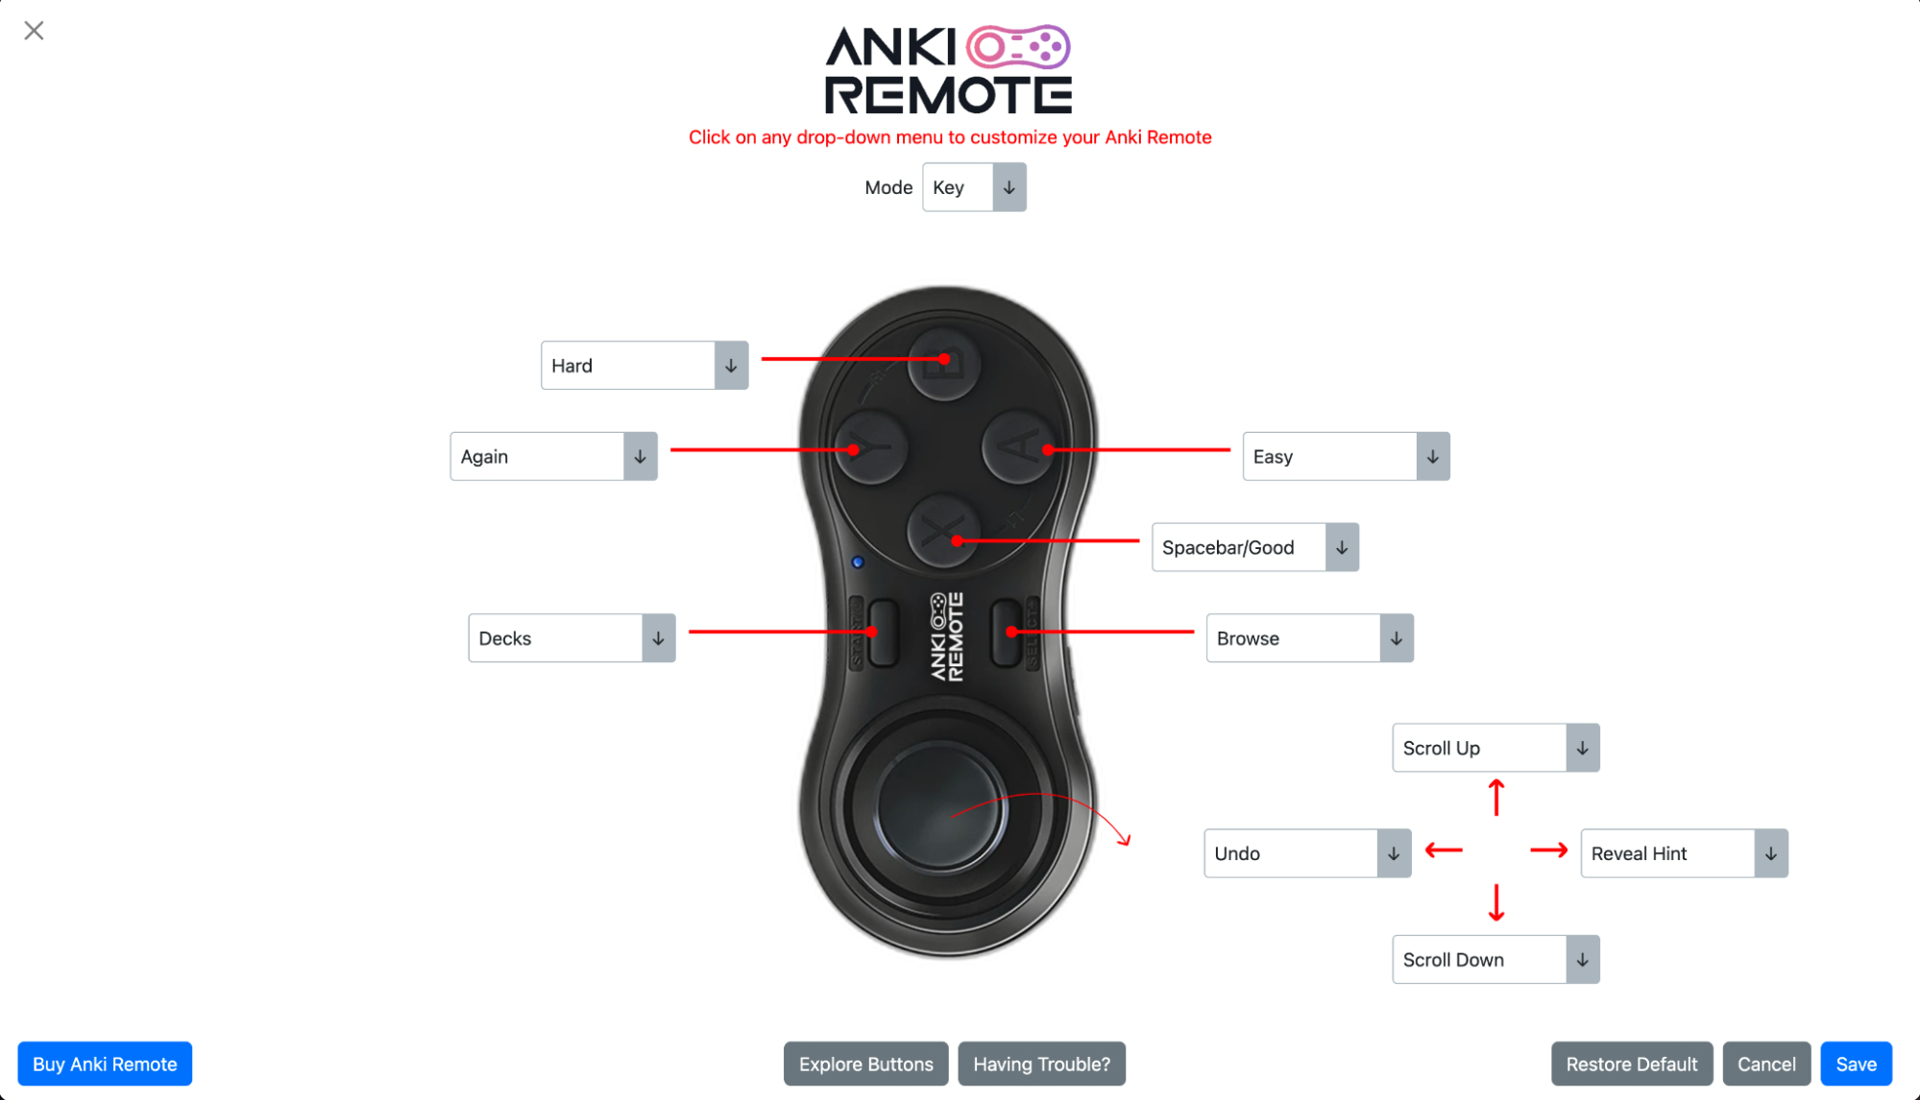
To customize your Anki Remote, follow these simple steps:
- Download the Anki Remote add-on from AnkiWeb or add the following code under your Anki Add-ons: 693153301.
- Once you have the add-on installed, you can easily customize your remote by clicking on any dropdown menu and changing any button to whatever function you prefer.
- If there is a specific function you're looking for but don't see, feel free to reach out to us at [email protected], and we'll do our best to integrate it for you.
We highly recommend using the Anki Remote add-on for the following reasons:
- It unlocks your left joystick, making it easy to set it as an Undo button, which is one of the most popular functions.
- As you continue to use Anki, your study methods may evolve. The add-on allows you to effortlessly update your Anki Remote to align with your progress.
- With the Anki Remote add-on, you can discover new features and functionalities that you may not have known were possible. Explore the add-on page to learn more about what it can do for you.
Benefits of Anki Clicker
Using an Anki clicker offers several benefits, including:
- Improved focus Anki clickers allow you to control the app without having to touch your computer, helping you stay focused on your studies.
- Increased efficiency With an Anki clicker, you can quickly move through your flashcards, making your study sessions more efficient.
- Reduced strain Using a clicker can reduce strain on your hands and wrists, especially during long study sessions.
Bottomline
Anki clickers are a valuable tool for anyone using Anki on a Mac. They make studying more convenient, efficient, and comfortable, allowing you to get the most out of your study sessions. If you're serious about improving your study habits, consider investing in an Anki clicker today.
I love Anki Remote! It was super easy to set up on my mac, and I haven't had any issues. I went from 12–14 seconds per card to 8'ish seconds per card. It is a wonderful improvement, and I am very satisfied. -Kendrick (med student)
We make Anki fast and fun.
Product
Copyright © 2025 Anki Remote. All rights reserve. Anki Remote is independent and not endorsed, sponsored, or affiliated with Ankitects Pty Ltd or Ankiweb. Any mention of Anki is solely for descriptive purposes, and no endorsement or sponsorship by Ankitects Pty Ltd is implied.