How To Set Up Anki
Anki is a powerful tool that helps you remember important information efficiently. Whether you're a student, a professional, learning new language, or just someone keen on expanding your knowledge, Anki can be a game-changer.
In this article, we'll walk you through the simple steps to set up Anki and introduce you to its remote feature, which enhances its accessibility and convenience.
Table of Contents:
- Setting up your Anki
- Importance of Anki Remote
- Benefits of Anki Remote
- Anki Remote Set Up
- Master your Anki Remote
- Bottomline
Setting up your Anki
1. Installation
- Download your Anki
Get the latest stable version from the Anki website. The desktop version is free and works on Windows, Mac, and Linux. For iOS, you can purchase AnkiMobile for $24.99, and for Android, use the free AnkiDroid app. AnkiWeb offers a fully online version.
2. Building Blocks of Anki
- Understanding Decks
Decks are groups of flashcards. Start with the "Default" deck and create new ones as needed. Avoid creating too many decks to prevent making card answering artificially easier.

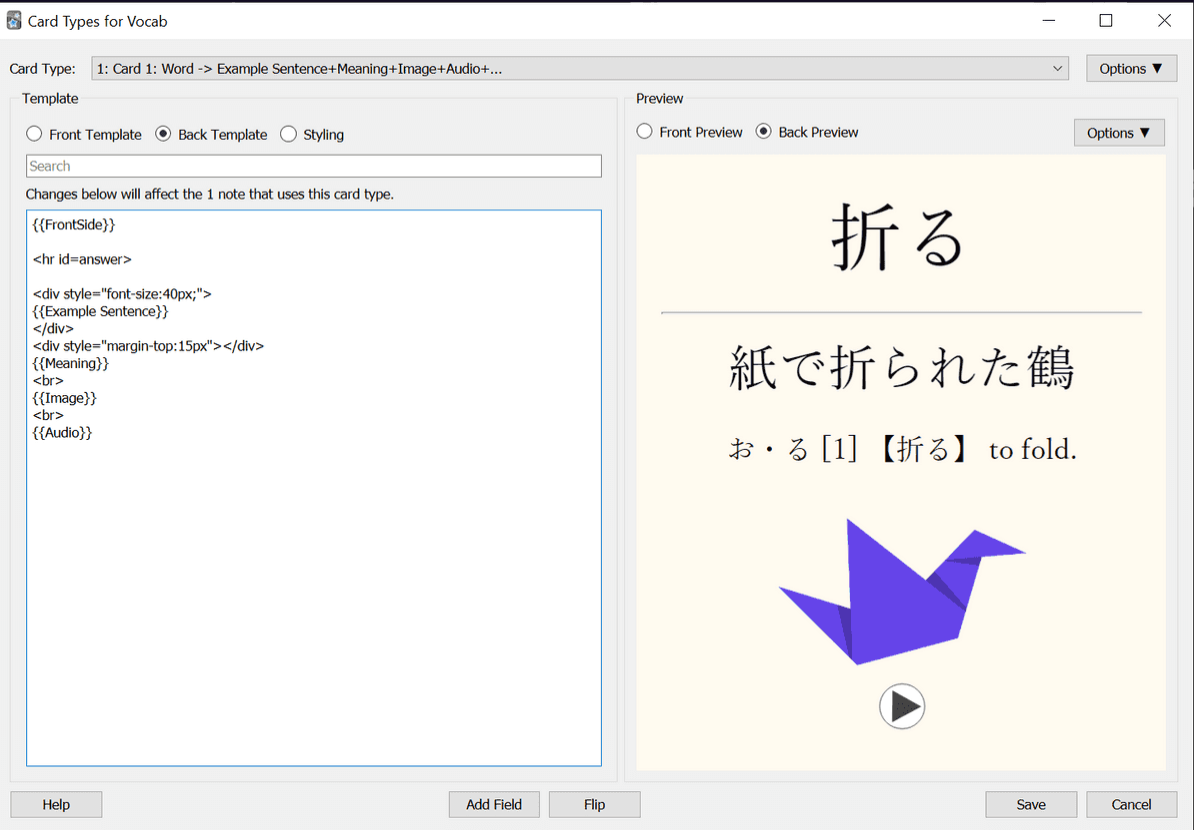
- Notes and Cards Notes are collections of data that form the basis for flashcards. They consist of various pieces of information like a word, example sentence, translation, audio, and image.
- Note Types A note type is a blueprint for creating notes and defining fields like words, example sentences, etc.
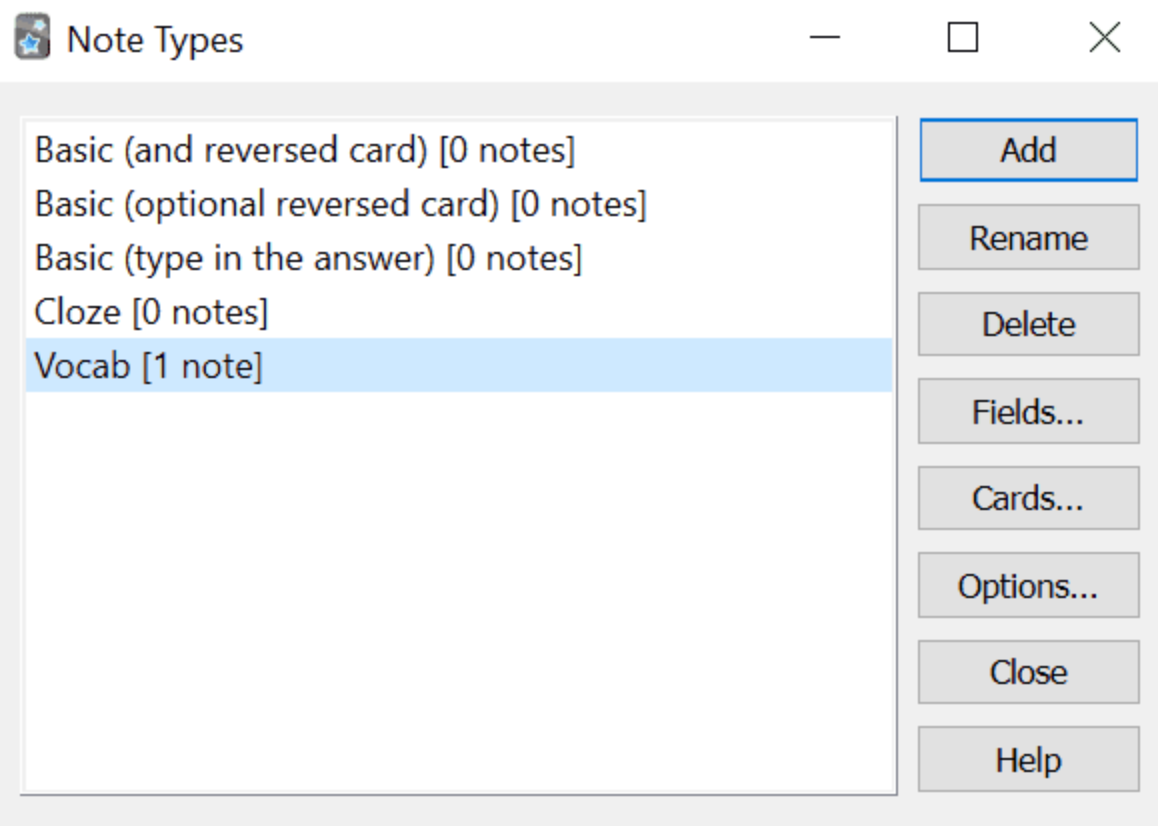
- Card Types A card type is a visual template for generating cards from notes.
3. Creating Cards
You can create new cards by selecting a note type and deck, then filling in the relevant fields. Pre-made decks can also be downloaded from the Anki website.

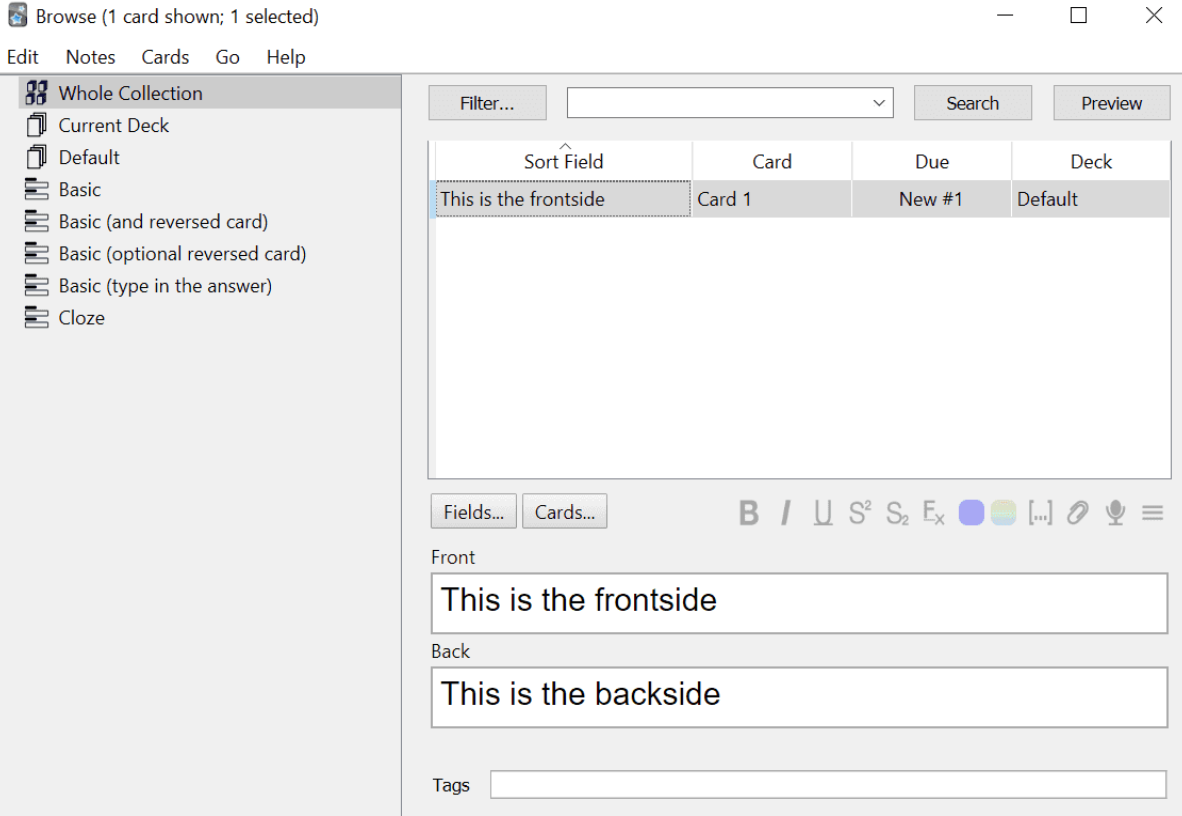
4. Using the Browser
The browser allows you to view and edit cards, filter by deck, note type, or tags, and use the search window.
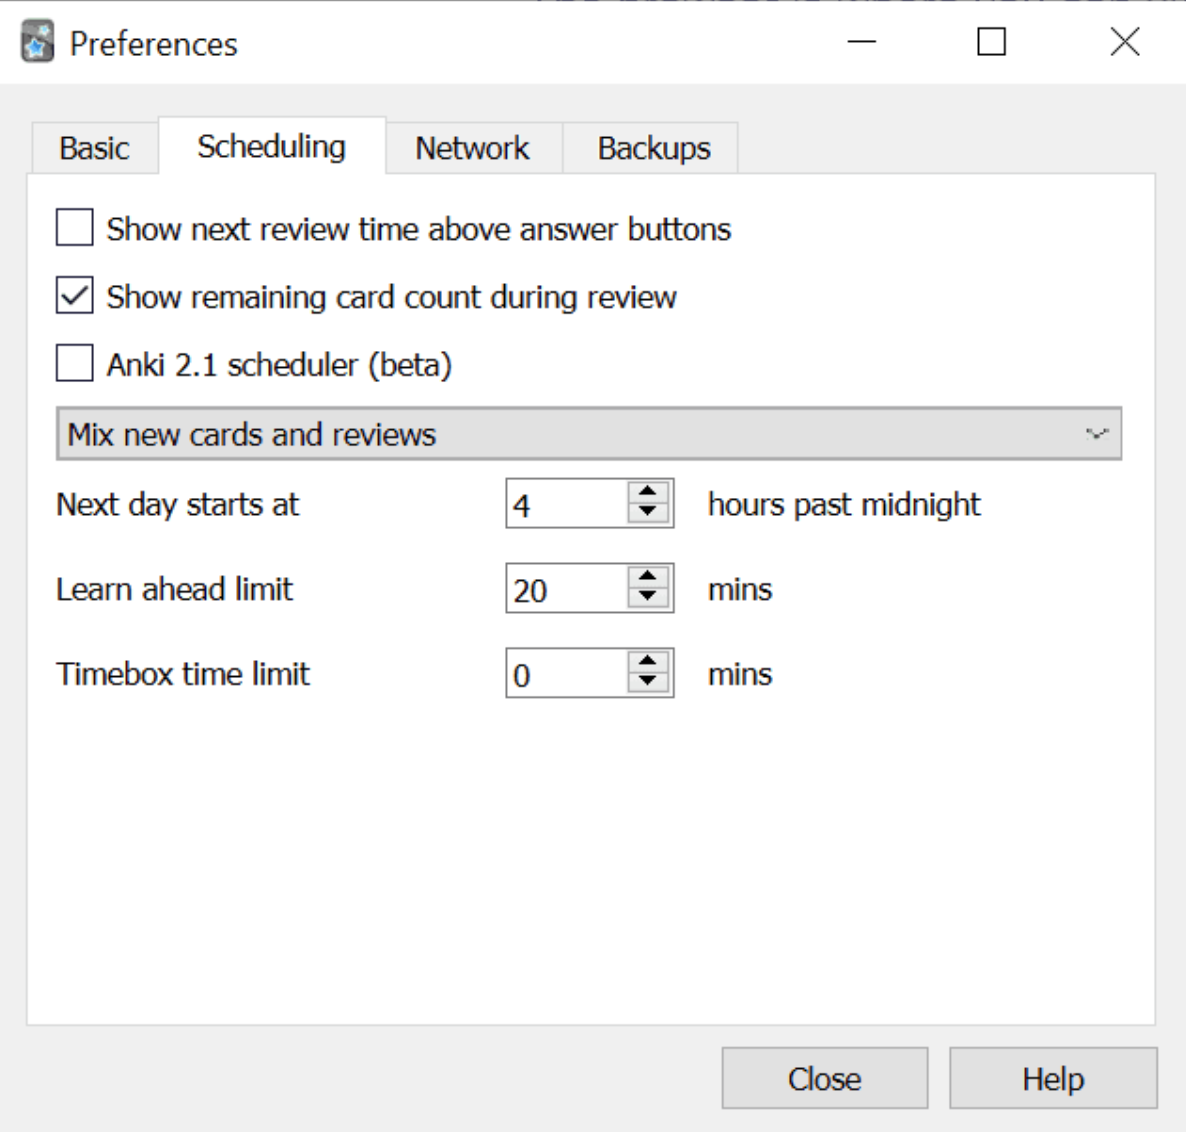
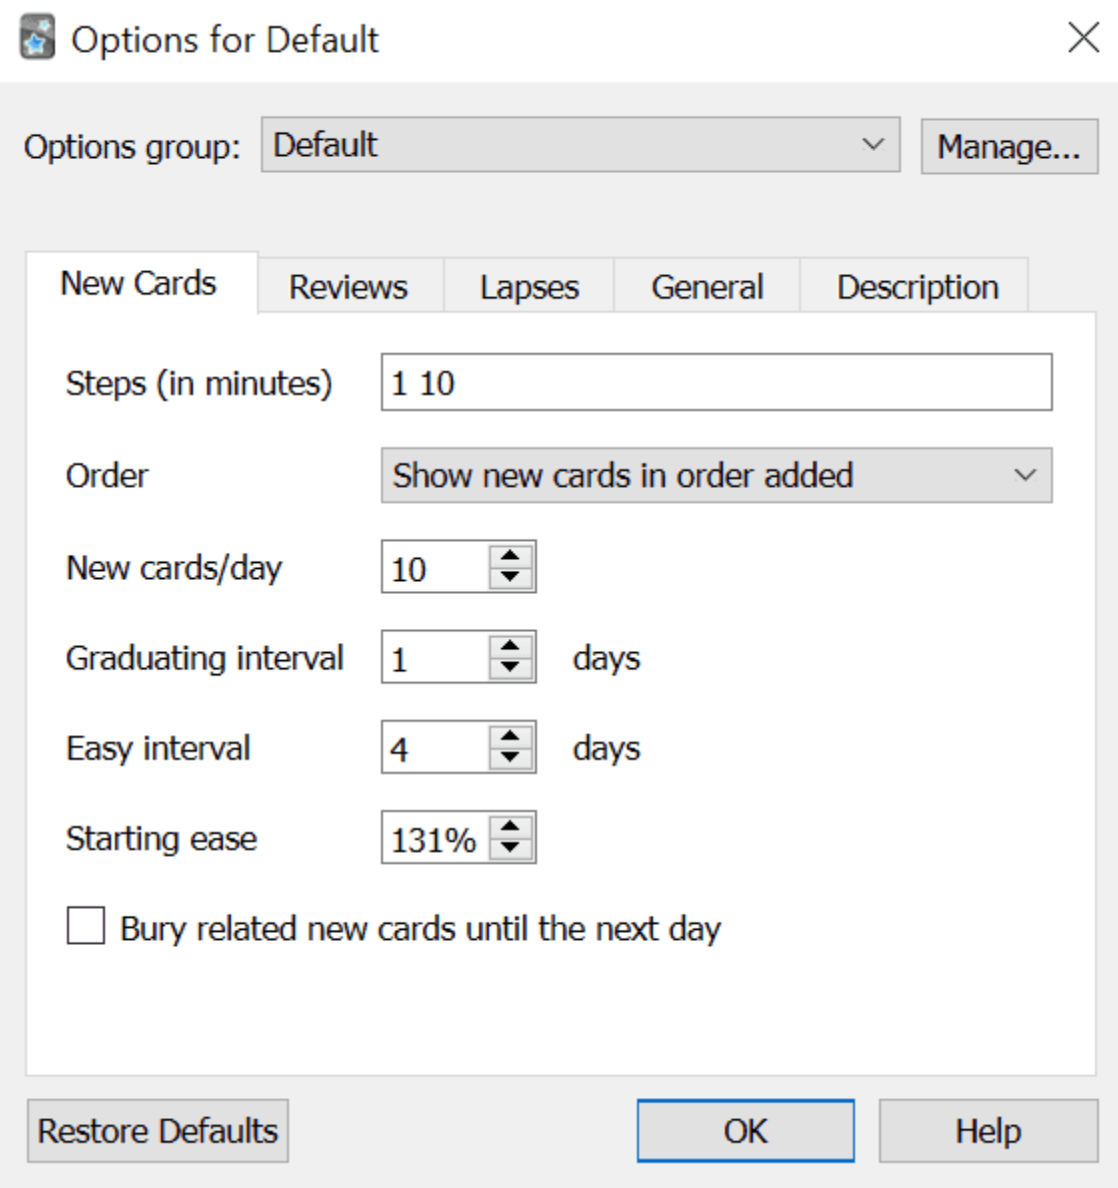
5. Preferences and Options
Preferences affect the entire Anki program, while options are set on the level of individual decks. Adjusting options is crucial for effective language learning.
Importance of Anki Remote
Anki Remote is a feature that enables you to control Anki from a distance, providing added convenience and flexibility.
Whether you're giving a presentation, teaching a class, or simply want to review flashcards without being tied to your device, Anki Remote proves to be invaluable.
Benefits of Anki Remote
1. Enhanced Mobility
With Anki Remote, you can interact with your flashcards from a distance, allowing you to move freely while studying or presenting.
2. Convenience
Say goodbye to constantly reaching for your device. Anki Remote streamlines the study process by putting control at your fingertips.
3. Versatility
Anki Remote's compatibility with various devices and platforms makes it accessible to a wide range of users, regardless of their preferences.
The Anki Remote Set Up
Anki Remote setup is quick and effortless. Simply follow these steps:
1. Activate Bluetooth
Ensure that Bluetooth is enabled on your device.
2. Pair Devices
Pair your device with the one running Anki using Bluetooth settings.
3. Connect
Tap on the option to connect via Bluetooth.
4. Confirmation
Follow the on-screen prompts to confirm the connection between devices.
5. Start Using Anki Remote
Once connected, you can start using Anki Remote to control your flashcards seamlessly.
Master Your Anki Remote in Just 2 Minutes!
Anki Remote setup is easy peasy, as stated above. To help you make the most of it, we've created a quick start guide that will have you navigating your Anki Remote like a pro in no time. Just click below to get started: https://www.ankiremote.com/start-here
Bottomline
Setting up Anki and utilizing Anki Remote is simple and can significantly enhance your learning experience. By following the steps outlined in this guide, you'll be well on your way to mastering your subjects efficiently and effectively.
Anki Remote setup offers a seamless studying experience by eliminating the constraints of being tethered to your device. With the ability to control Anki from a distance, you can study comfortably, whether you're pacing around the room, giving a presentation, or simply prefer a hands-free approach.
Get the Anki Remote now to optimize your study sessions and elevate your learning journey to new heights!
Omg I love Anki Remote 2.0 so much. It is so much easier to set up. I love that you can actually use the round bar too to scroll up and down. It is seriously game changer and so worth the money!! - Millie (med student)
We make Anki fast and fun.
Product
Copyright © 2025 Study Tools LLC (Anki Remote). All rights reserve. Anki Remote is independent and not endorsed, sponsored, or affiliated with Ankitects Pty Ltd or Ankiweb. Any mention of Anki is solely for descriptive purposes, and no endorsement or sponsorship by Ankitects Pty Ltd is implied. Anki is a registered trademark of Ankitects Pty Ltd.